


How to use a Passphrase with Trezor, Ledger and Coldcard
Originally posted on the Veriphi blog (defunct) on )ctober 16, 2020


How to use a Passphrase with Trezor, Ledger and Coldcard
by Tristan Borges Solari 8 months ago
In this tutorial, we will be showing you an additional security feature that allows you to enhance the security of your new or current Bitcoin private key.
A passphrase is an additional set of characters or words that you add to your original 12 or 24 word bitcoin seed that generates a new wallet for you. This wallet is only accessible once the passphrase you have selected is inserted correctly.
Adding a passphrase is possible thanks to the BIP39 standard. It allows for a standardized way of displaying your private keys since, instead of having a string of random letters and numbers, you have a sequence of English words, selected from 2048 possible words, that your wallet displays for you to record with a pen and paper.
This is crucially important since it is a mnemonic representation of your private keys. This can be used to recreate your seed and then recreate the wallet and all of its derived keys.
Your passphrase acts as a 13th or 25th that helps prevent a full compromise of your funds in the case that someone has access to your hardware wallet and wants to extract your seed. In this scenario, it gives you time to move your funds to a new wallet if you realize your seed is compromised.
The password stretching algorithm (PBKDF2) ensures that it is difficult to brute force the passphrase.
It is important to properly safeguard your passphrase, since losing it would effectively lead to the total loss of funds associated with that wallet.
I’ll be demonstrating the steps for creating a wallet with 3 separate hardware wallets (firmware version):
Coldcard (v3.1.9)
Trezor Model T (v2.3.4)
Ledger Nano S (v1.6.0)
I will also be using Electrum (v4.0.3) as my wallet interface and for the creation of the passphrase whenever possible and for using the watch-only wallets associated with every setup.
Threats mitigated:
Physical theft (of hardware wallet or seed phrase)
Preparing your environment:
Make sure your hardware wallet’s firmware is up to date
You have Electrum downloaded on your computer
Tutorial steps
Trezor Model T
A passphrase is particularly useful for Trezor devices since it has been demonstrated in the past that these devices can be compromised if a skilled enough hacker with about $100 worth of equipment has physical access to your device, as seen here.
Adding a passphrase to your seed requires you to download the Trezor bridge.
This can be done either through their wallet application on their website or offline by using trezorctl commands.
The creation of the wallet and the passphrase can either be done through their online wallet application or in this case, by using Electrum.
Once the Trezor bridge is downloaded, we can begin the creation of our wallet containing a passphrase.
Open Electrum wallet, write the wallet name you’d like to use and press “Next”.

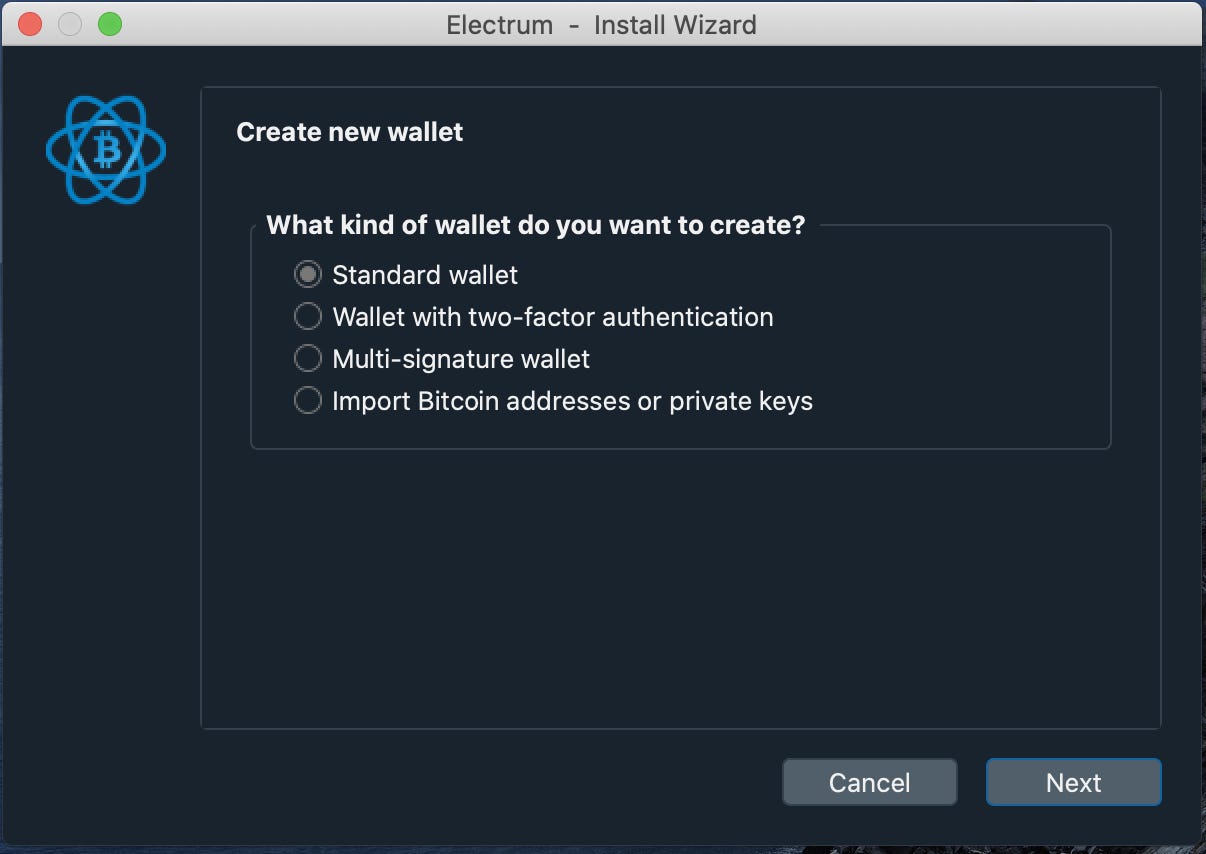
Select the type of wallet you’d like to create. In this tutorial we’ll be creating a “Standard Wallet”. Once decided, press “Next”.
Select “Use a hardware device”, then press “Next”.
Plug your Trezor device into your computer, if not done already, and hit “Next” to trigger a rescan in order to detect your device.

This is what you should see.
Now you can decide whether you want to use your hardware wallet to generate a new seed to which we’ll be adding a passphrase, or if you already have generated a seed phrase, you can recover it here to make a secondary wallet by adding the passphrase. We’ll go with the former option.
Select your seed length and then scroll down to select “Show expert settings”.

The option to enable the passphrase will appear, scroll down and select it.

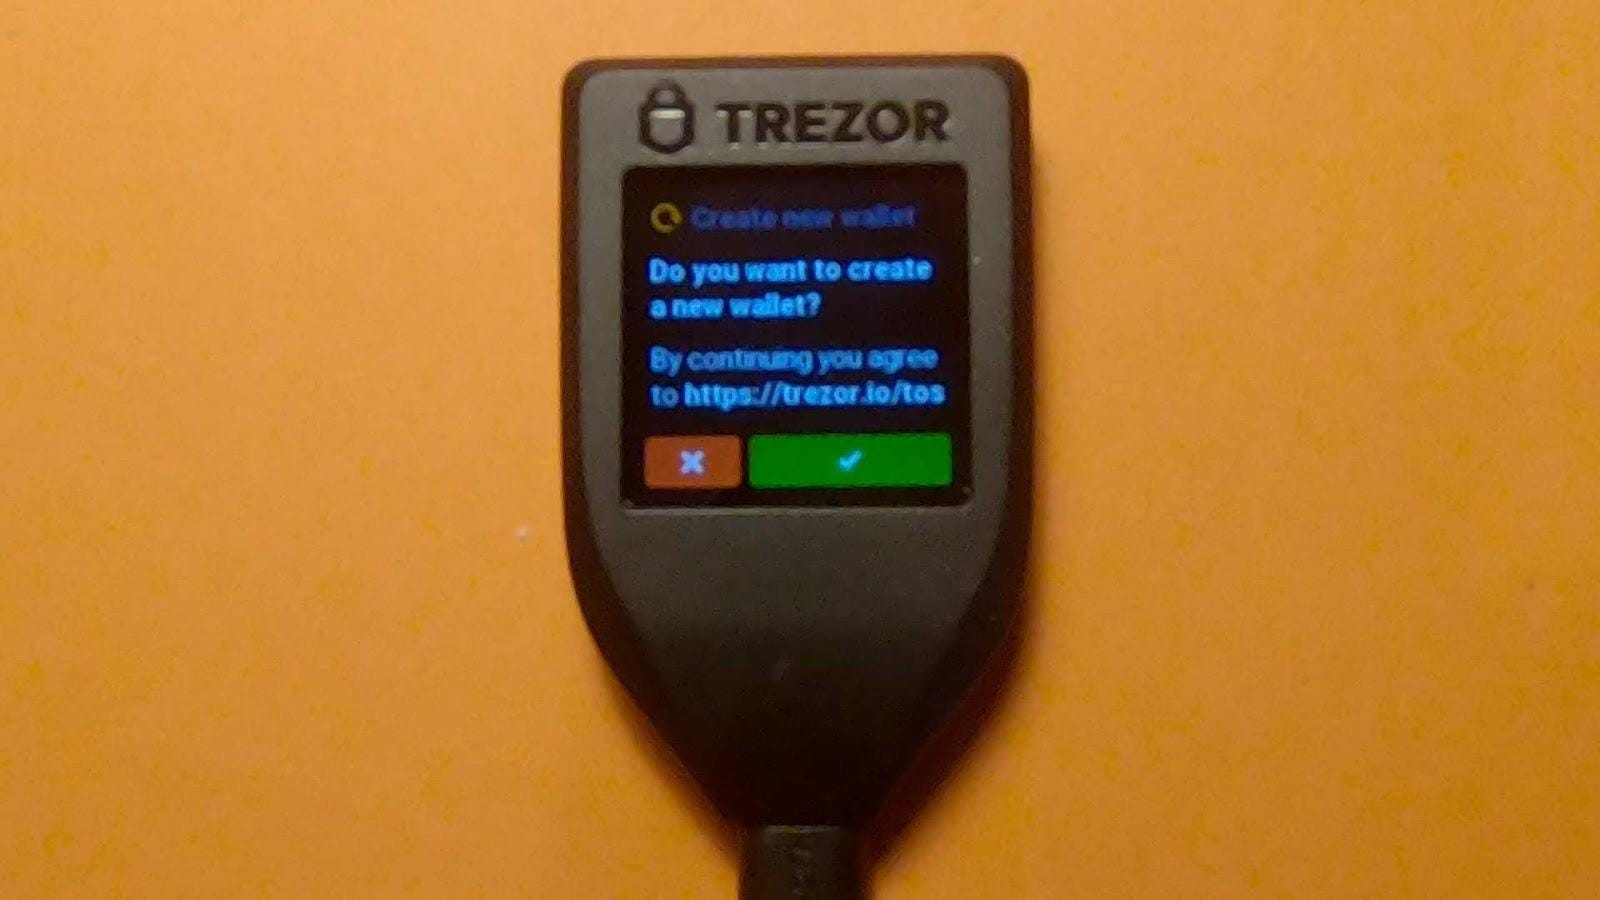
On your hardware wallet, approve the creation of the new wallet by pressing the green check mark.
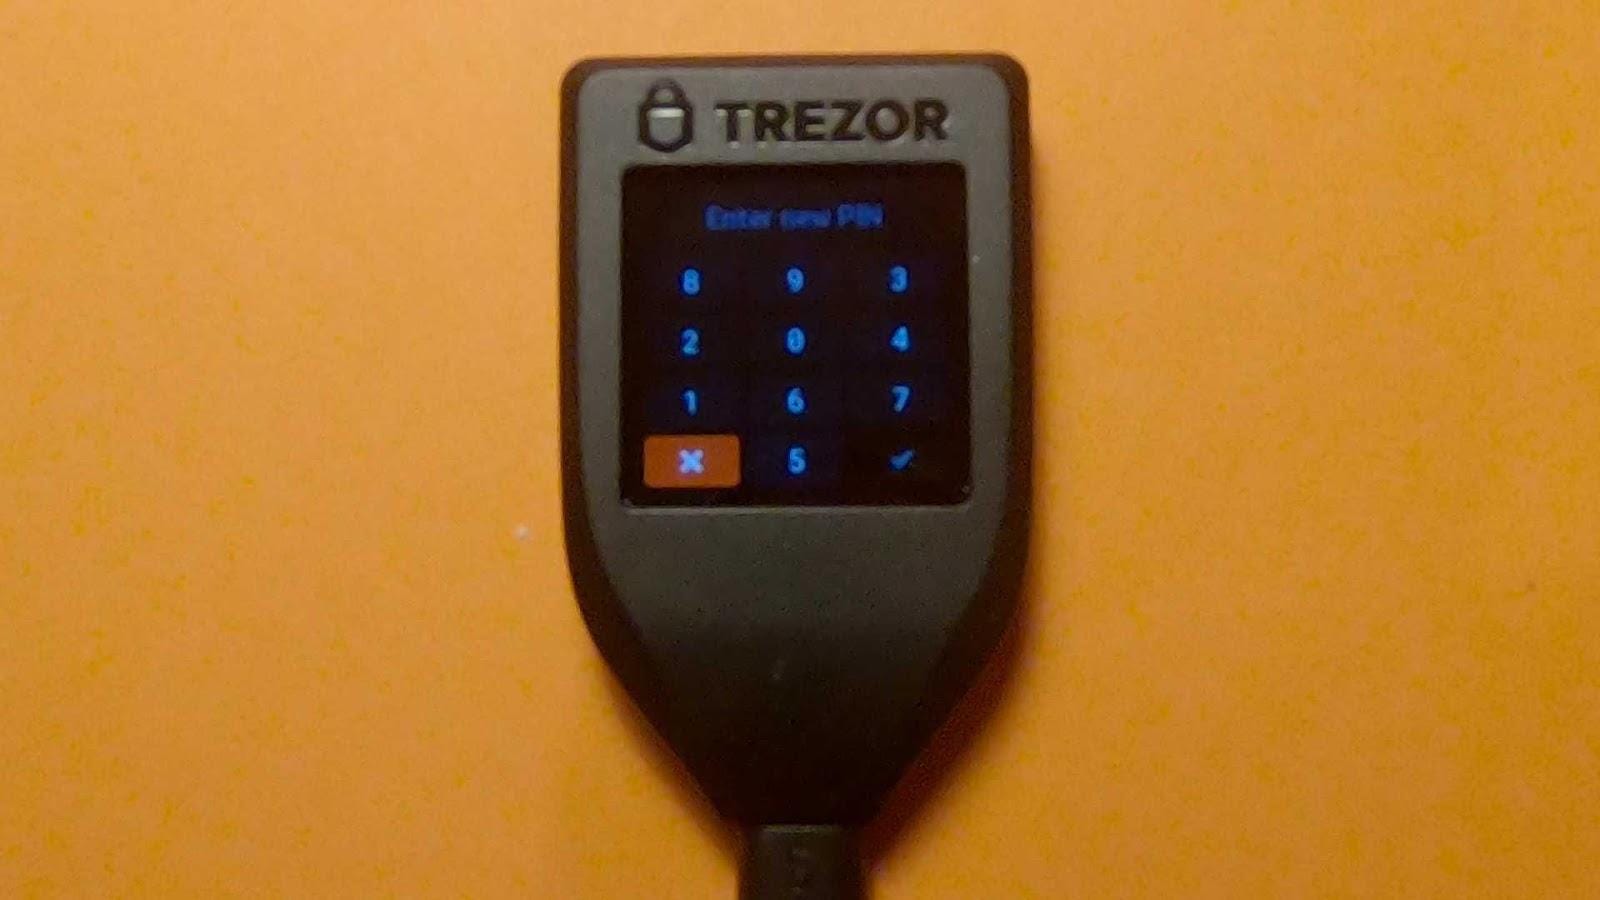
Create your pin and confirm once more on the next screen.
Select “Back up” in order to obtain your 24 word seed phrase.
Write down your 24 words and confirm them in the next step.
On Electrum, write your passphrase and confirm it
Make sure you have written it down.
Select the type of addresses in your wallet.
Decide whether or not you’d like to encrypt your wallet file. Enabling it means you need to unlock your hardware wallet in order to open the file.
There you go, you now have a wallet created using the Trezor Model T with a passphrase!
This is a wallet from which you can spend directly from by authorizing the transactions on your Trezor hardware wallet. In order to have a watch-only wallet so you don’t need to carry your device around, but still want to receive transactions, follow these steps:
Go to “Wallet” in the menu and select “Information”.

In the new window, the Master Public Key will be displayed. Copy this information.

In the menu, select “File”, then on “New/Restore”.
Enter a name for this watch-only wallet and press “Next”.
Select “Standard Wallet” and press “Next”.
Select “Use a master key” and press “Next”.
Paste your master public key in the text box and press “Next”.
Decide whether or not you’d like to add a password to access this wallet and press “Next”.
In the menu, select “File”, then on “Save Backup”.
Select the file location where you’d like it to be saved.
Ledger Nano S
In order to use the Ledger device, you must download the Bitcoin application on your device. This can be simply achieved through the Ledger Live application or locally through a command line interface using ledgerctl and by installing the Bitcoin app from their Github page.
The seed phrase is generated on the Ledger device, whereas the wallet will be accessible through Electrum. We will also be creating a watch-only version of this wallet to avoid having to carry the device with you during future deposits.
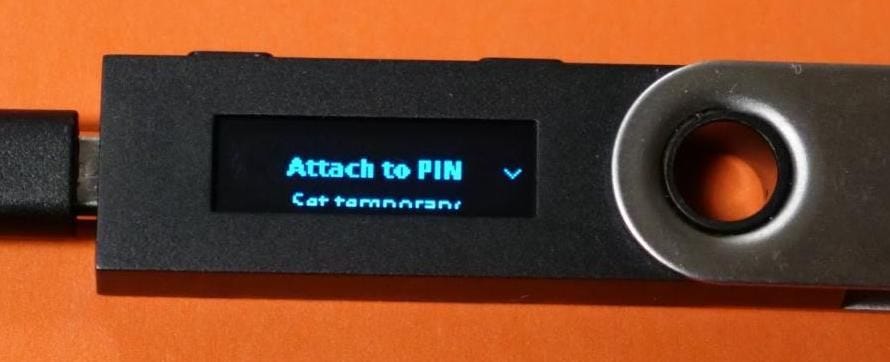
The passphrase will be created on the device as well. Ledger gives us two options for the passphrase:
Attach to PIN code
We must select a PIN code before proceeding to selecting the characters of our passphrase. This PIN code serves to activate the wallet associated with the passphrase and must be entered at the beginning of every session in order to access it (instead of inserting our initial PIN code associated with the device initialization).
The passphrase will be stored on the device until you overwrite it with another passphrase or until the device is reset.
Set temporary passphrase
This creates a wallet associated with a passphrase for the duration of the session. Unlike the previous option, you will have access to the wallet using a passphrase immediately instead of beginning a new session to access it.
We will be going over the steps involved with the first option since it involves a few more steps and is very similar to the second one.
Once you have the Bitcoin app installed on your Ledger device we can begin with creating a wallet with a passphrase:
On your device's Main page, click on the right button until you arrive to “Settings”, then press on both buttons to select it.

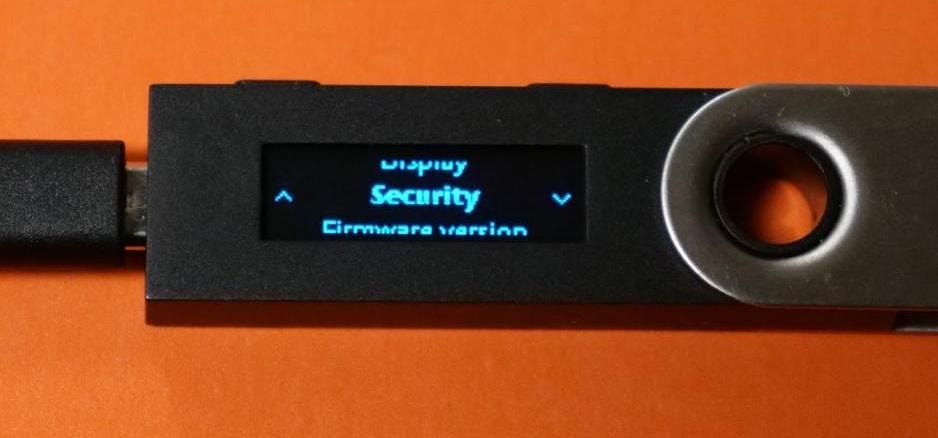
Press on the right button until you arrive on “Security” and select it.
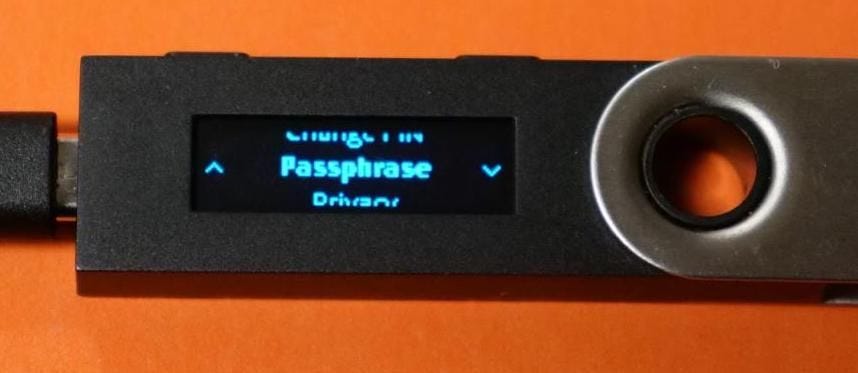
Press on the right button until you arrive on “Passphrase” and select it.
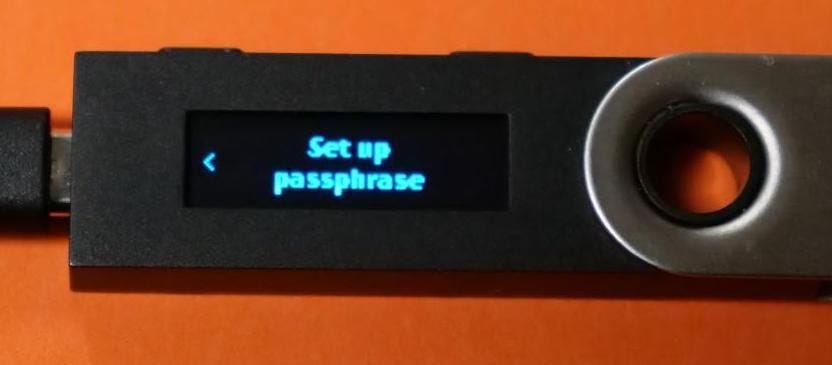
Press on the right button until you arrive on “Set up passphrase” and press on both buttons simultaneously to approve it.
Select “Attach to PIN”.
Enter the PIN you’d like to use in order to activate the wallet using a passphrase upon the device activation.
Make sure you write this down and keep it in a safe place.
Enter your PIN code and confirm it.
Enter your passphrase by scrolling through the available characters and by pressing on both buttons to select one.
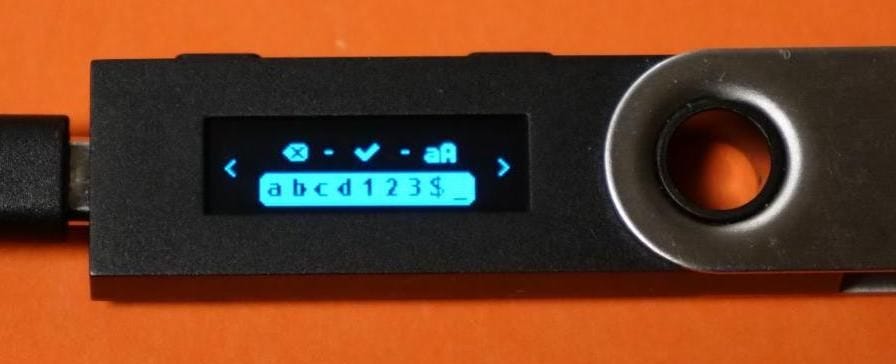
Make sure you write this down and keep it in a safe place.
Once satisfied with your passphrase, select the check mark.
Confirm your passphrase once more.
To access your wallet on Electrum:
Enter the PIN code of your device associated with the creation of your passphrase.
Open the Bitcoin application on your device.
Open Electrum and select “New/Restore”
Enter a name for your wallet and press on “Next”

Select the type of wallet you’d like to create. In this case, it’ll be a Standard Wallet.
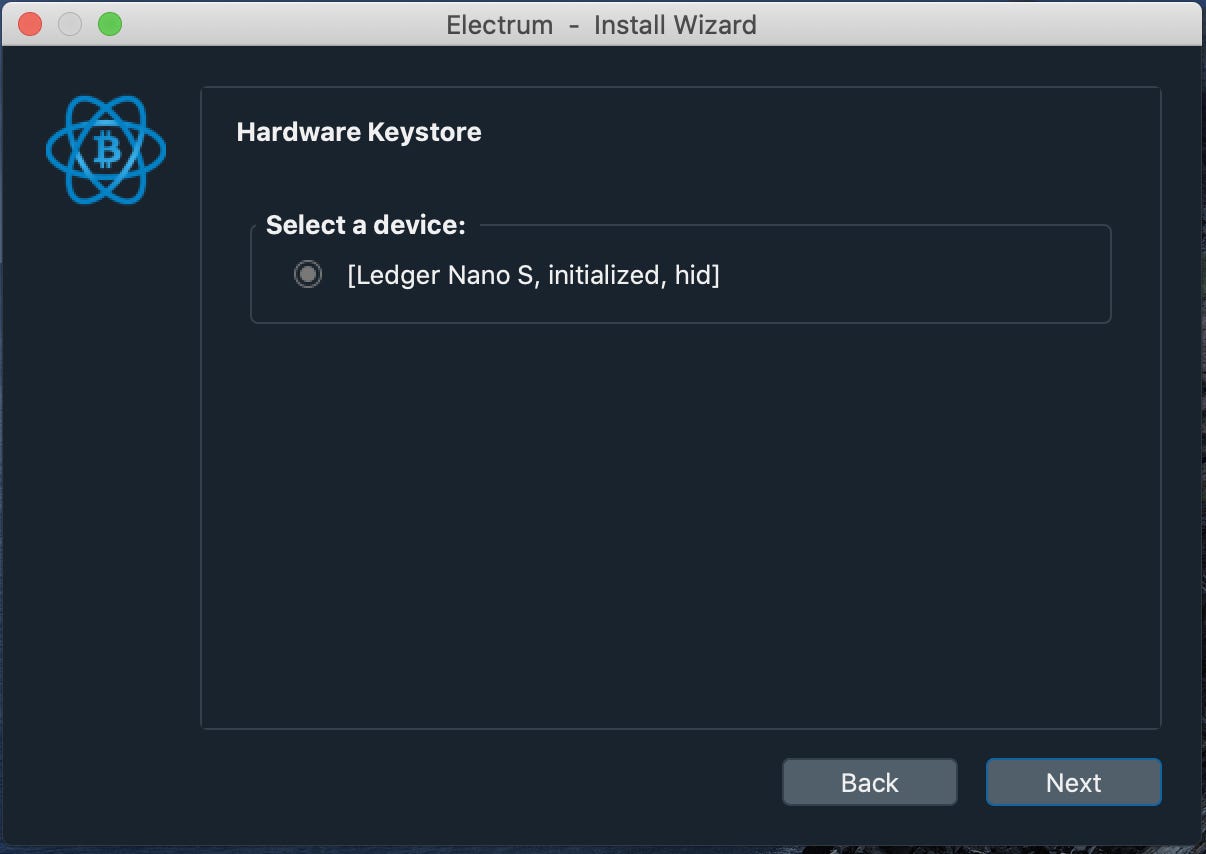
Select “Use a hardware device”.

Your device should be visible. If it isn’t, make sure that you have opened the Bitcoin app on your device and trigger a re-scan by pressing “Next”.
Choose your address type and derivation path. We have opted for native segwit and have left the derivation path unchanged.
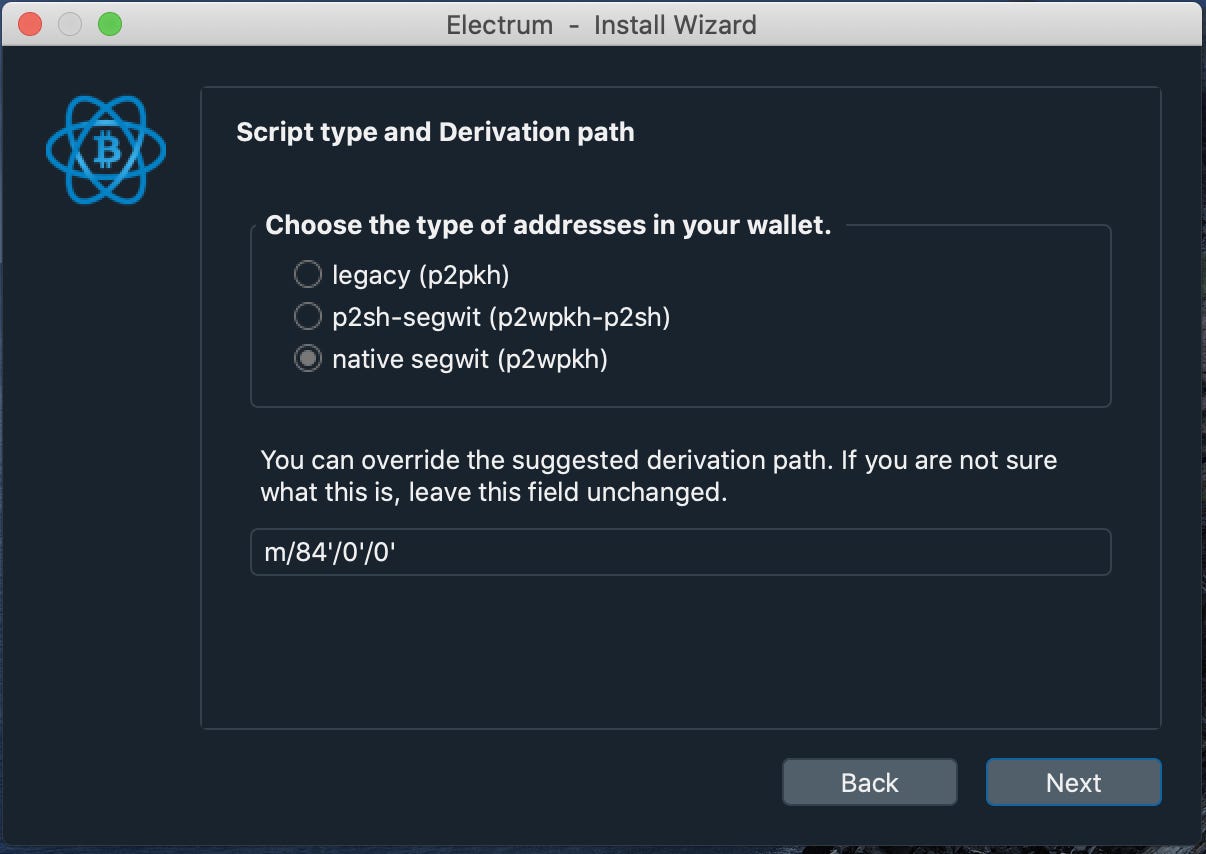
Decide whether or not you’d like to encrypt the wallet file. If you leave this box checked, you will need to have your Ledger device plugged into your computer whenever you want to access a watch-only wallet. Otherwise, leave this box unchecked.

There you have it! You now have created a wallet using the Ledger device and a passphrase.
To create a watch-only wallet, follow the steps outlined on this process in the Trezor section.
In summary, they are as follows:
On the Electrum menu, select “Wallet”, then “Information”.
Copy the Master Public Key displayed.
On the Electrum menu, select “File”, then on “New/Restore”.
Enter a name for this watch-only wallet and press “Next”.
Select “Standard Wallet” and press “Next”.
Select “Use a master key” and press “Next”.
Paste your master public key in the text box and press “Next”.
Decide whether or not you’d like to add a password to access this wallet and press “Next”.
In the menu, select “File”, then on “Save Backup”.
Select the file location where you’d like it to be saved.
Coldcard
By default, your Coldcard always starts with an empty passphrase. You must re-enter it at the begin of every session in order to sign transactions associated with the wallet containing a passphrase.
If you enter your passphrase wrong, you will be looking at an empty wallet.
You also have the option of creating multiple wallets containing a passphrase with your Coldcard.
To begin, follow these steps:
Once logged into your device, select the “Passphrase” option in the main menu.

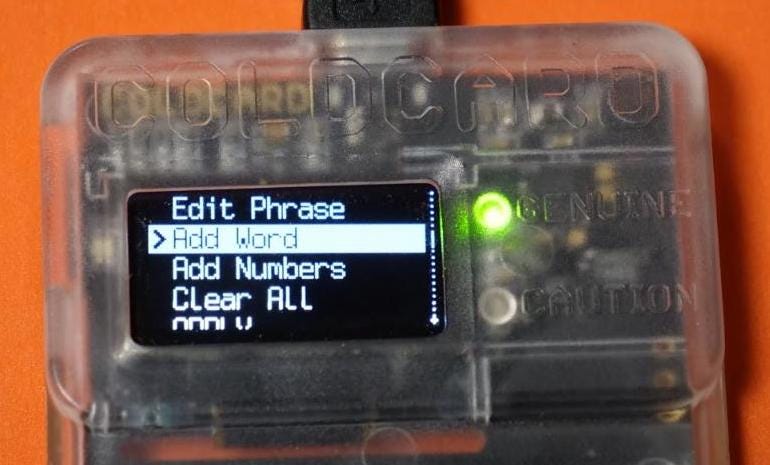
Select “Edit Phrase”.
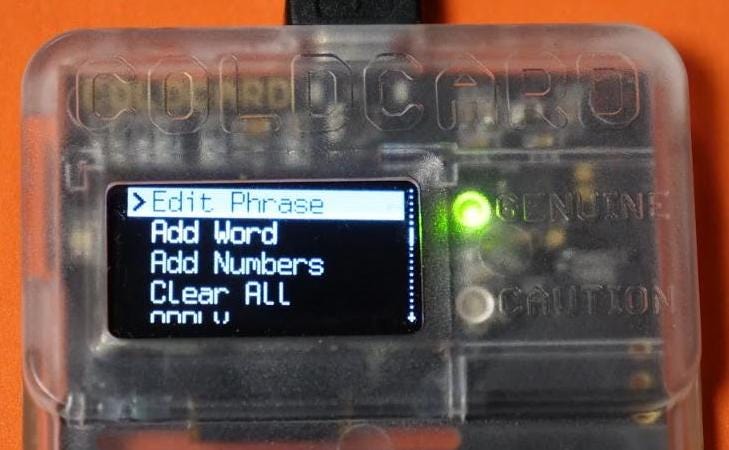
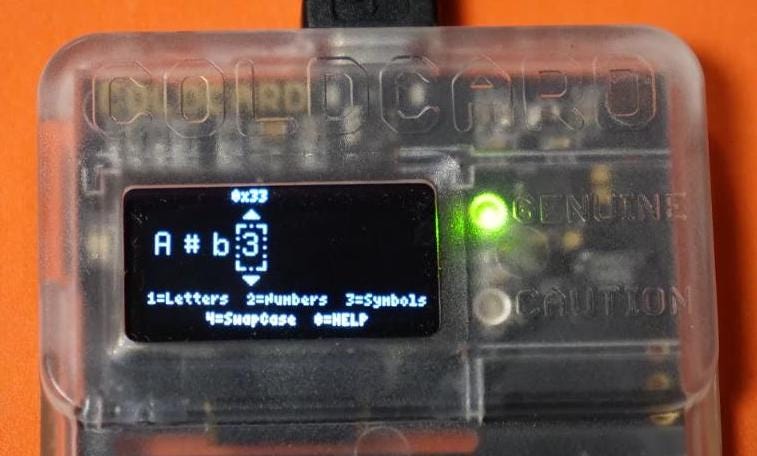
You can now manually enter your passphrase. Other options of entering a passphrase are detailed below:
Press “1” on your device to enter letters.
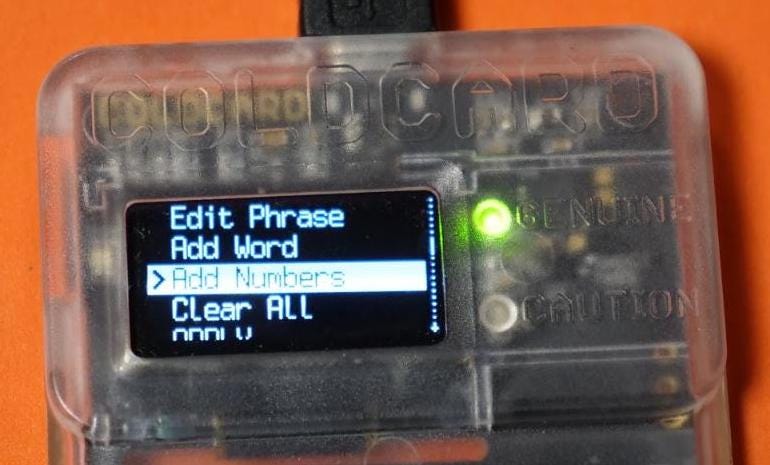
Press “2” on your device to enter numbers.
Press “3” on your device to enter symbols.
Other passphrase options:
You can add words obtained from the BIP-39 word list (2048 words) and each word has 6 variations.
You can enter numbers in your passphrase or only use them. You can enter up to 32 numeric digits by using the keypad.
Once satisfied with your passphrase, select “APPLY”.
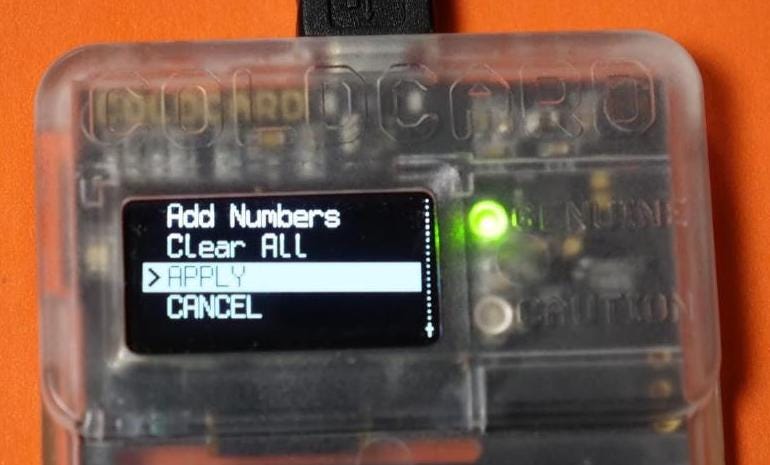
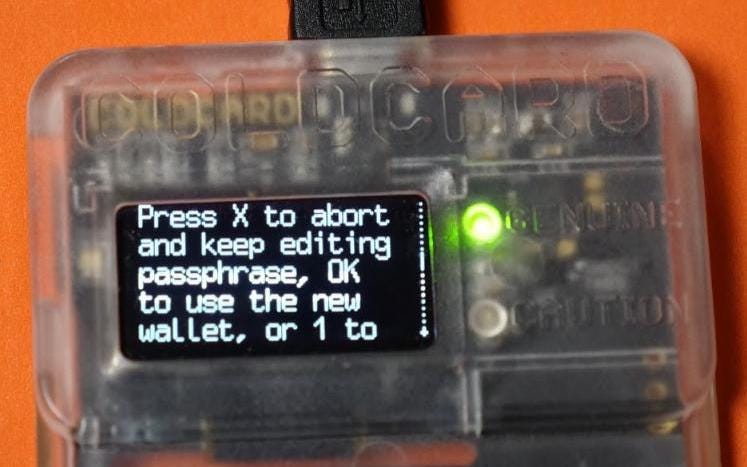
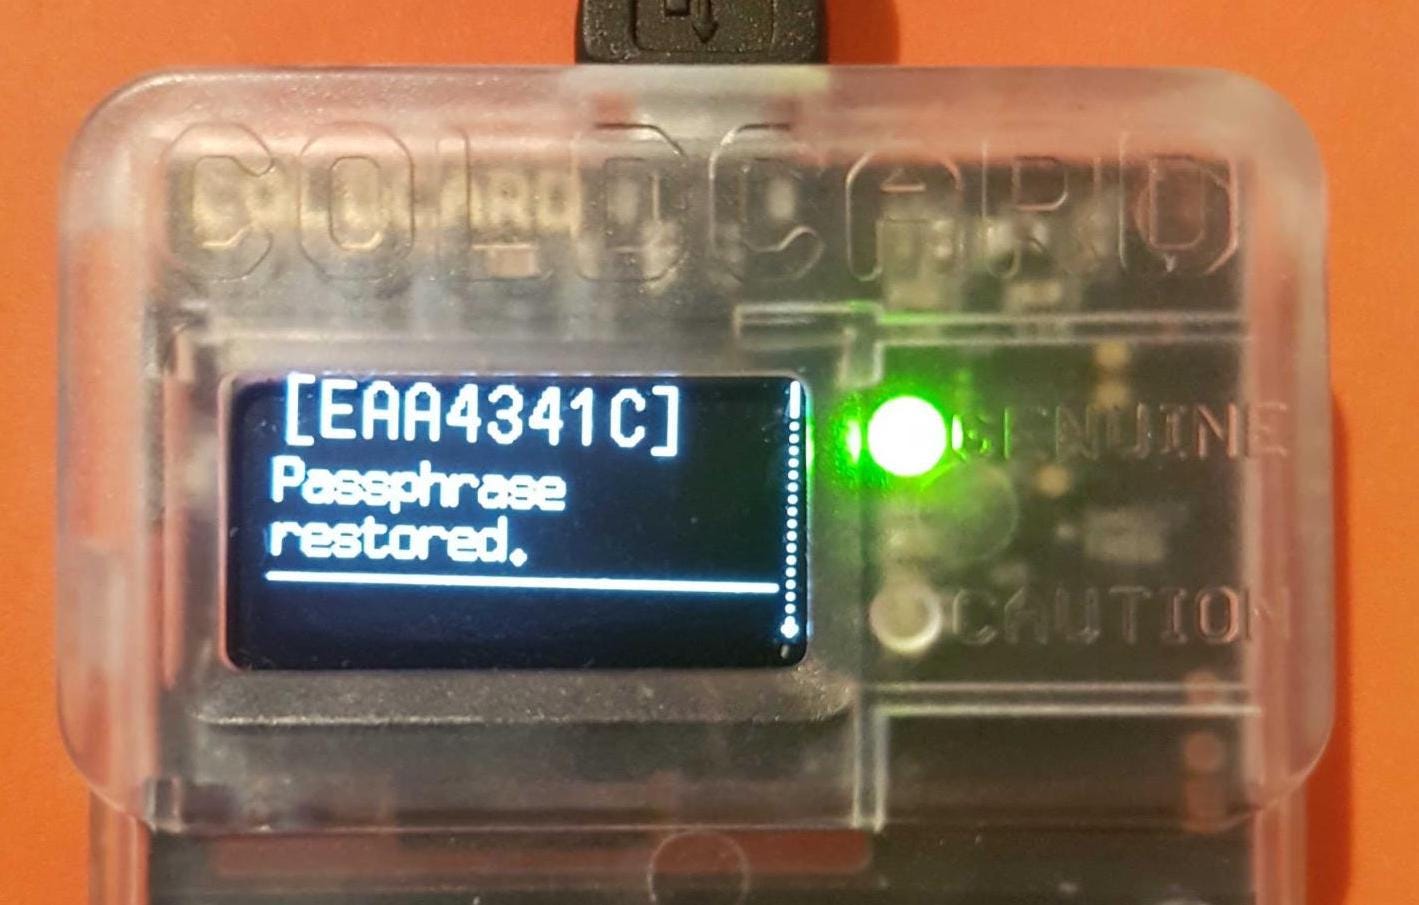
This will generate a new fingerprint (XFP) for your device, a short representation of your XPUB (extended public key).
Note this down so you are sure you have entered the right passphrase during your next session.

Press “1” to save it to the microsd card inserted in the device so you can recuperate it later.
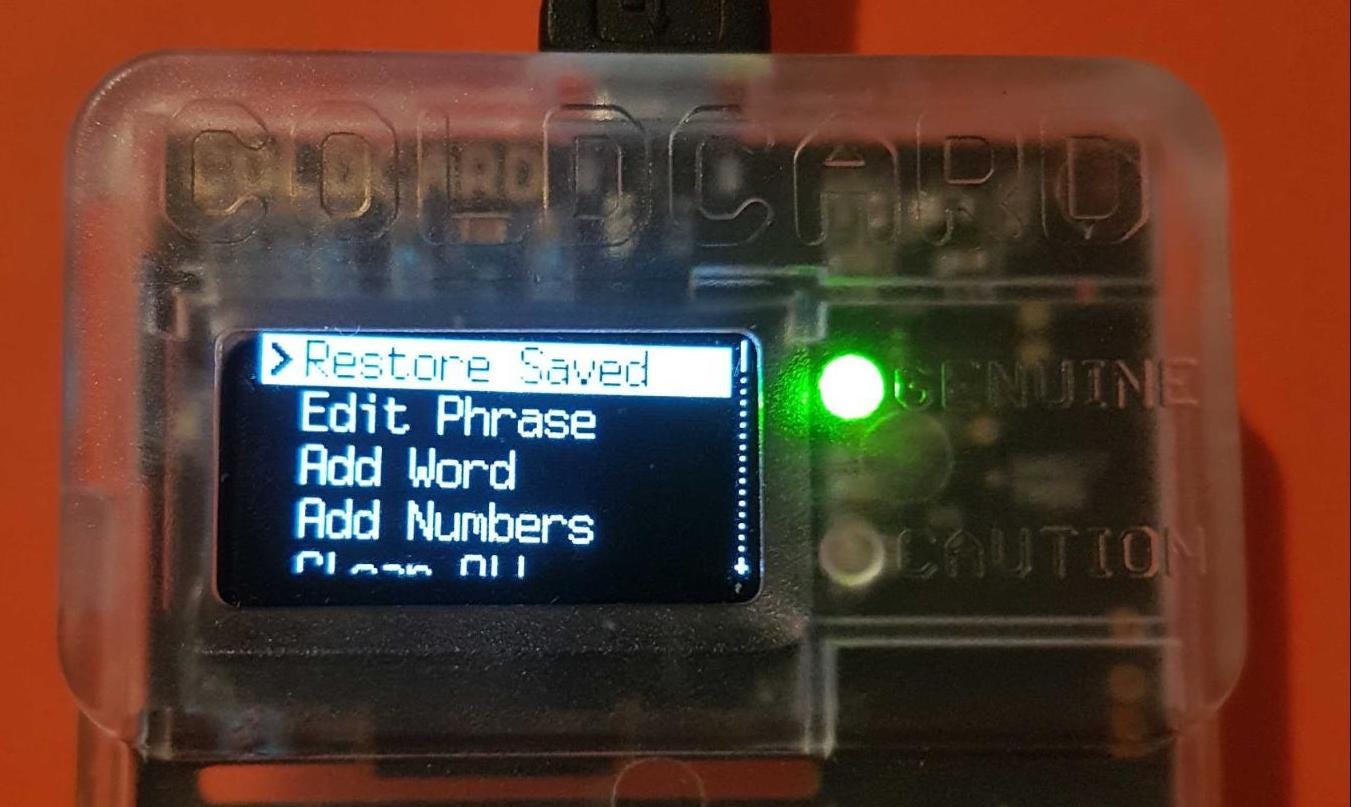
To recuperate and use this saved passphrase, go to “Passphrase”, followed by “Restore Saved” and select the appropriate one.
To make sure you have selected the appropriate wallet containing the passphrase, verify that the device fingerprint matches the one generated in step 4.
Export a watch-only wallet file to use on Electrum.
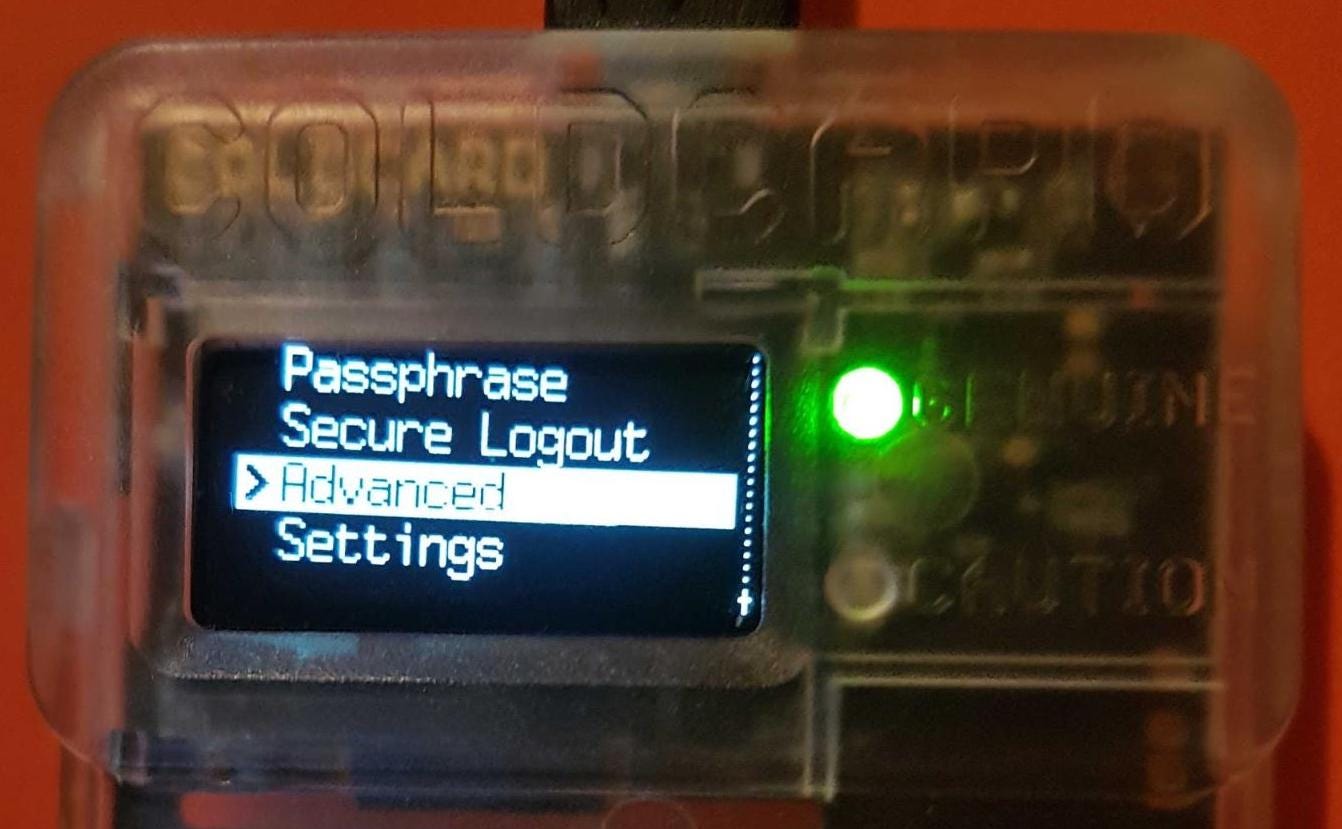
On the device’s main menu, select “Advanced”, followed by “MicroSD Card”.
Select “Export Wallet”, then select "Electrum Wallet" and then choose which wallet type you'd like to export.
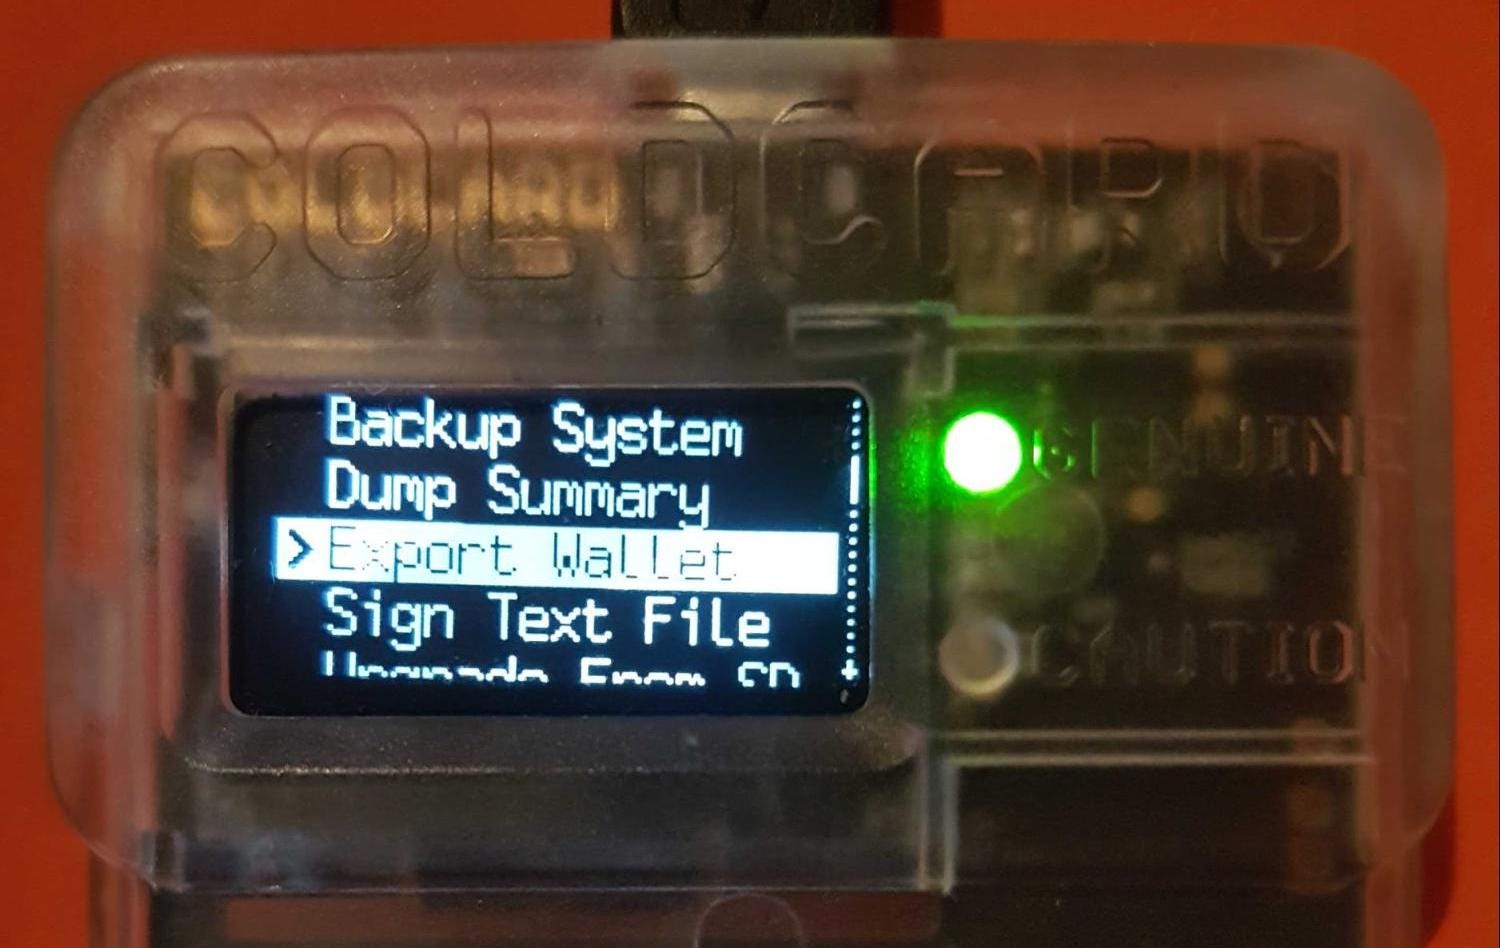
You now have a .json file that you can open in the Electrum wallet in order to watch your addresses.
There you have it! Now you know how to improve your wallet security with the use of a passphrase.